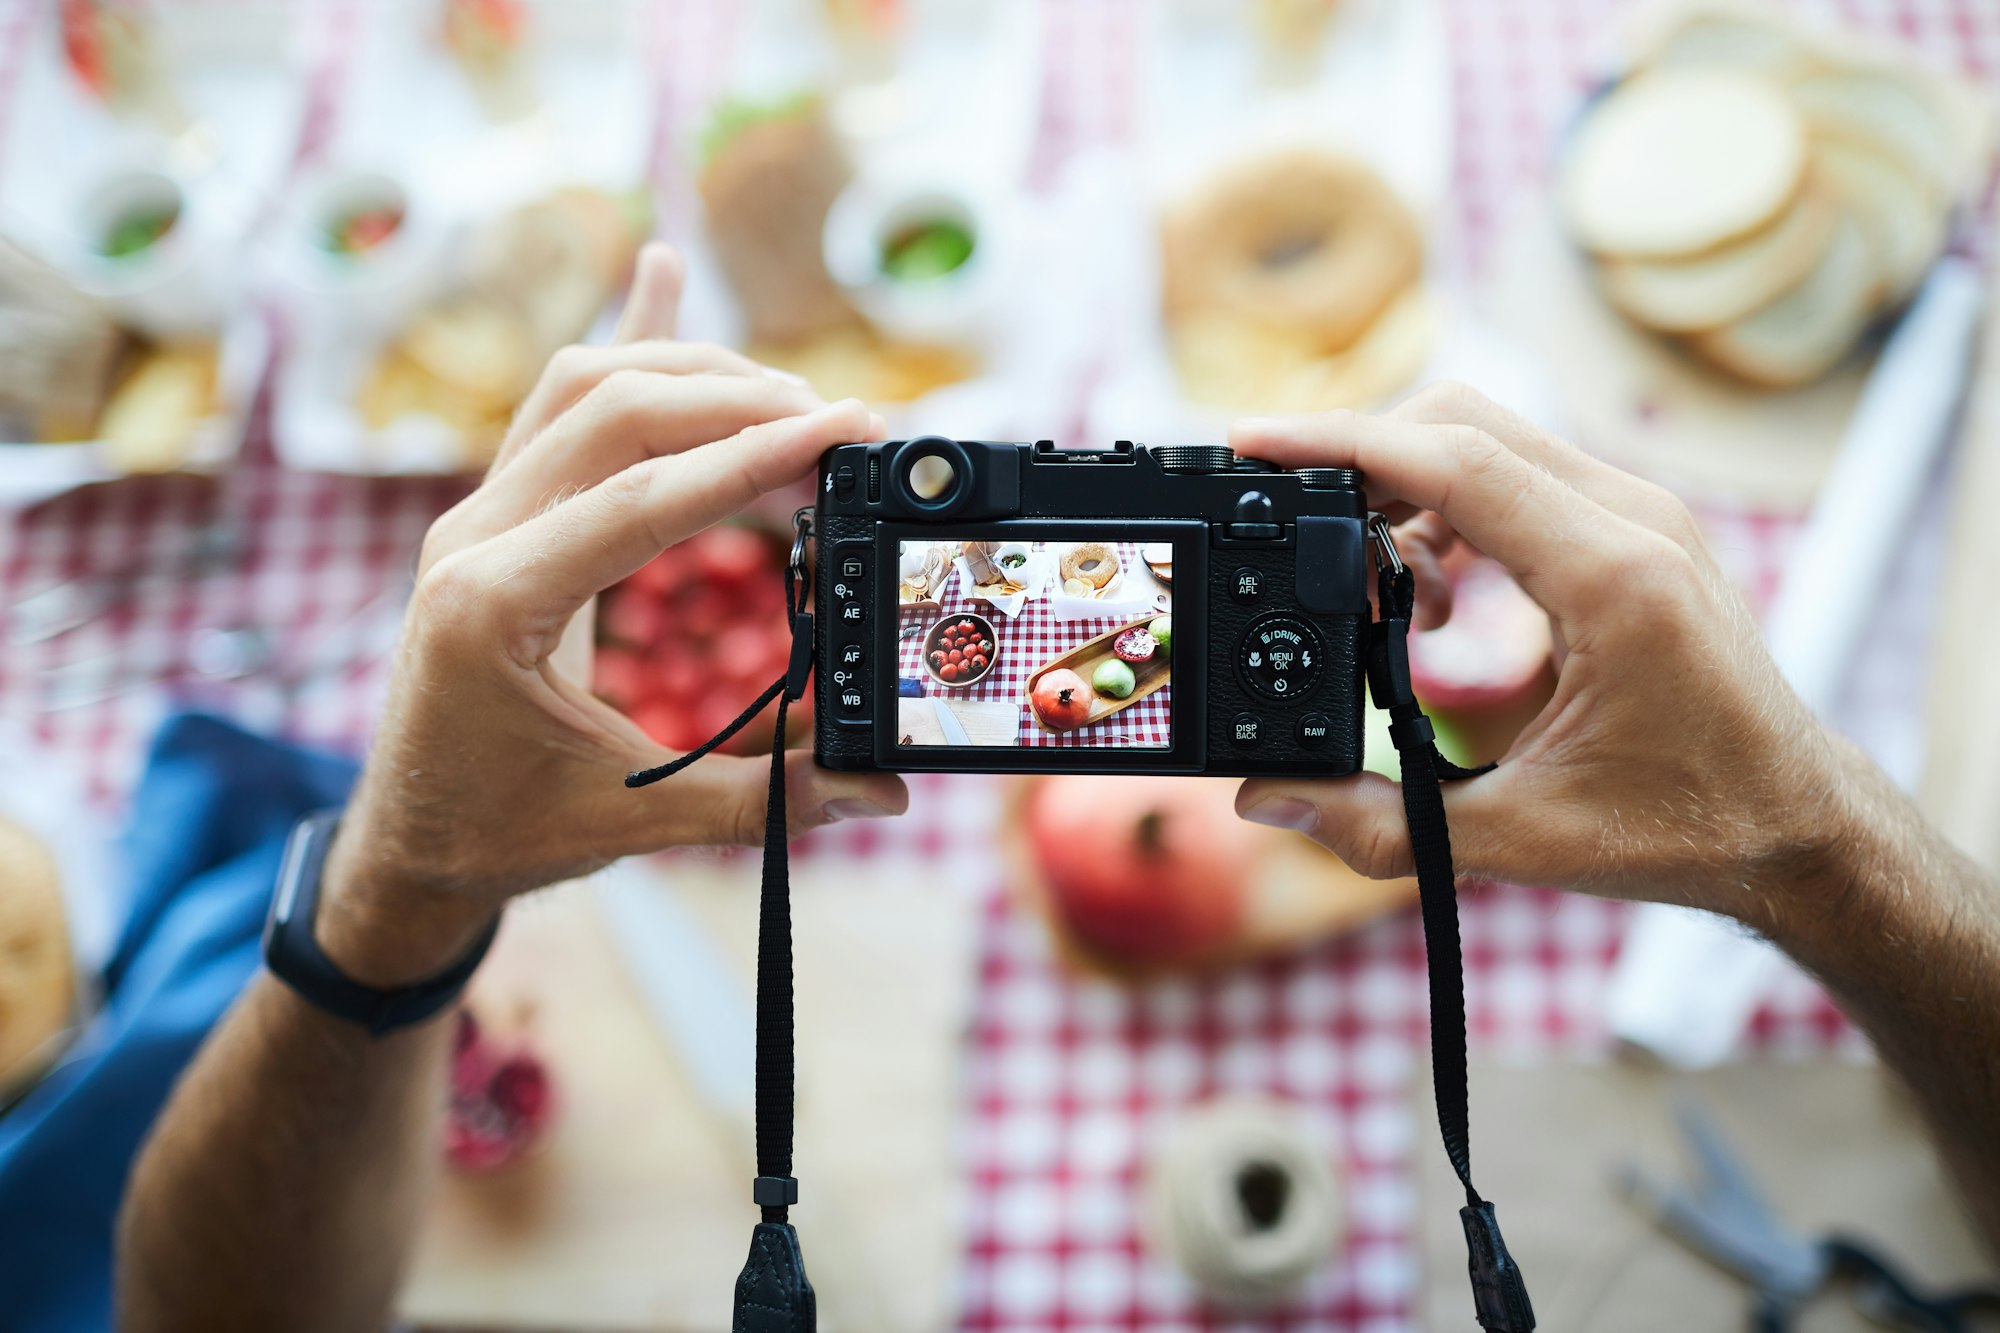
As a beginner photographer, there are various exercises you can do to improve your skills and gain better control over your camera. Here are three photography exercises that you may find helpful:

Exercise 1: Take One Photo Every Day
One of the best ways to improve your photography skills is to practice regularly. This exercise challenges you to take one photo every day. It could be anything that catches your eye – a landscape, a person, an object, or even abstract details. The goal is not to create a perfect masterpiece every day, but to develop the habit of observing the world around you and training your eye to look for interesting compositions and lighting. By committing to this daily practice, you’ll start to notice improvements in your photography skills, as well as a better understanding of your camera’s capabilities.
To make the experience more enjoyable, try different themes each week or focus on a specific subject for a month. You can also share your daily photos on social media or online photography communities to receive feedback and encouragement from fellow photographers. Remember, proficiency in any skill comes with practice, so don’t fret if some of your daily photos don’t turn out as expected. The important thing is to keep pushing yourself and embracing the learning process.
Exercise 2: Practice Different Exposure Scenarios
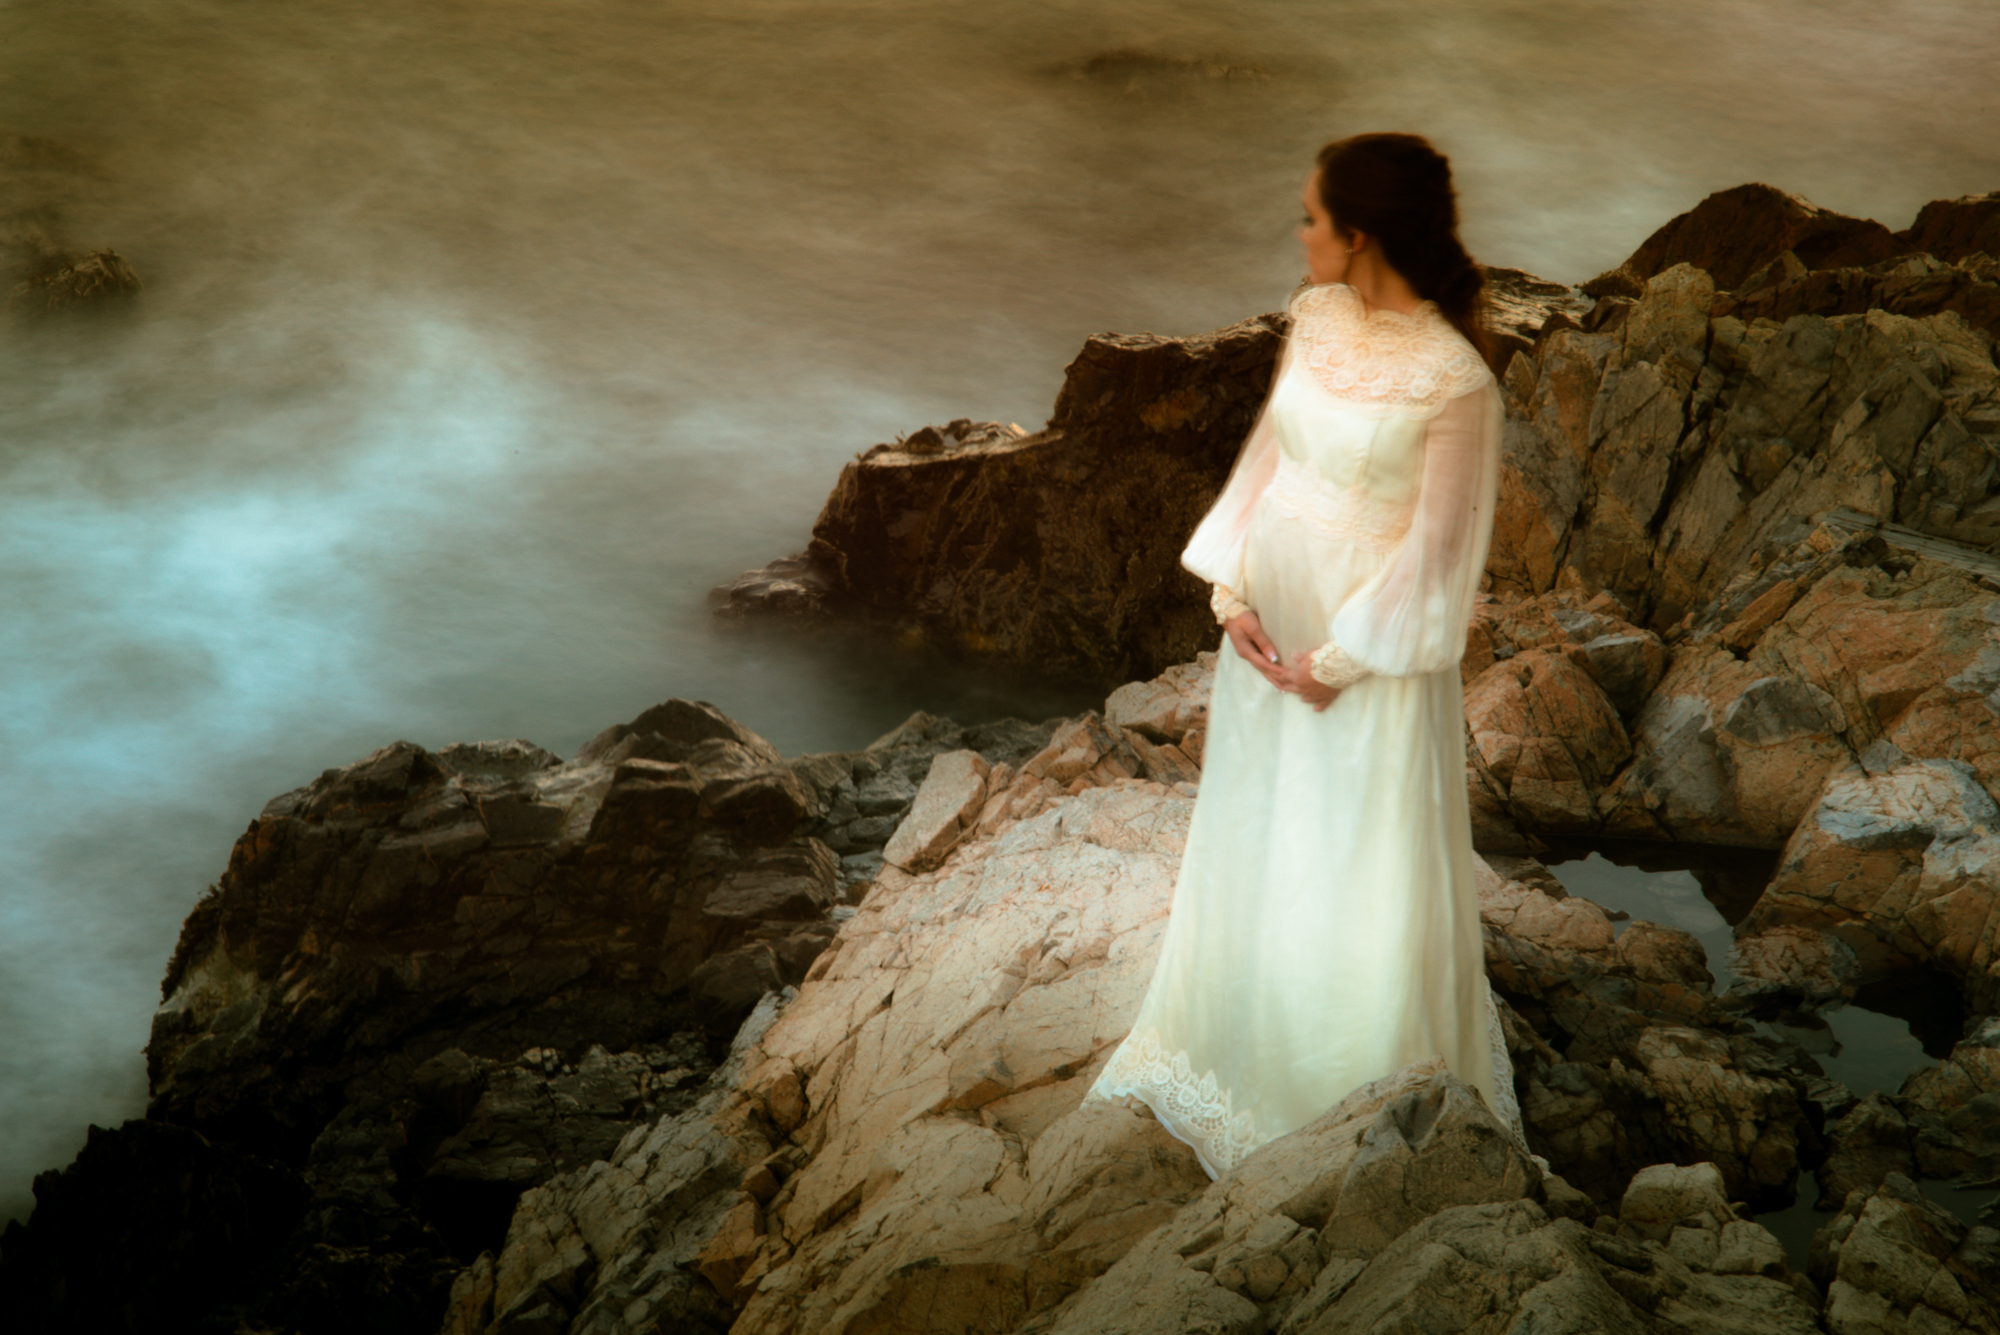
Understanding exposure is a fundamental aspect of photography. It involves finding the right balance between three key elements: shutter speed, aperture, and ISO. To improve your skills in this area, try practicing different exposure scenarios with your camera settings. This exercise will help you become more comfortable with manipulating these settings and give you a better understanding of how they affect your final image.
Begin by experimenting with different shutter speeds. Set your camera to shutter priority mode, which allows you to control the shutter speed while the camera adjusts the other settings automatically. Start by capturing fast-moving subjects with a high shutter speed to freeze the action. Then, try gradually decreasing the speed to capture motion blur and achieve a sense of movement in your images.
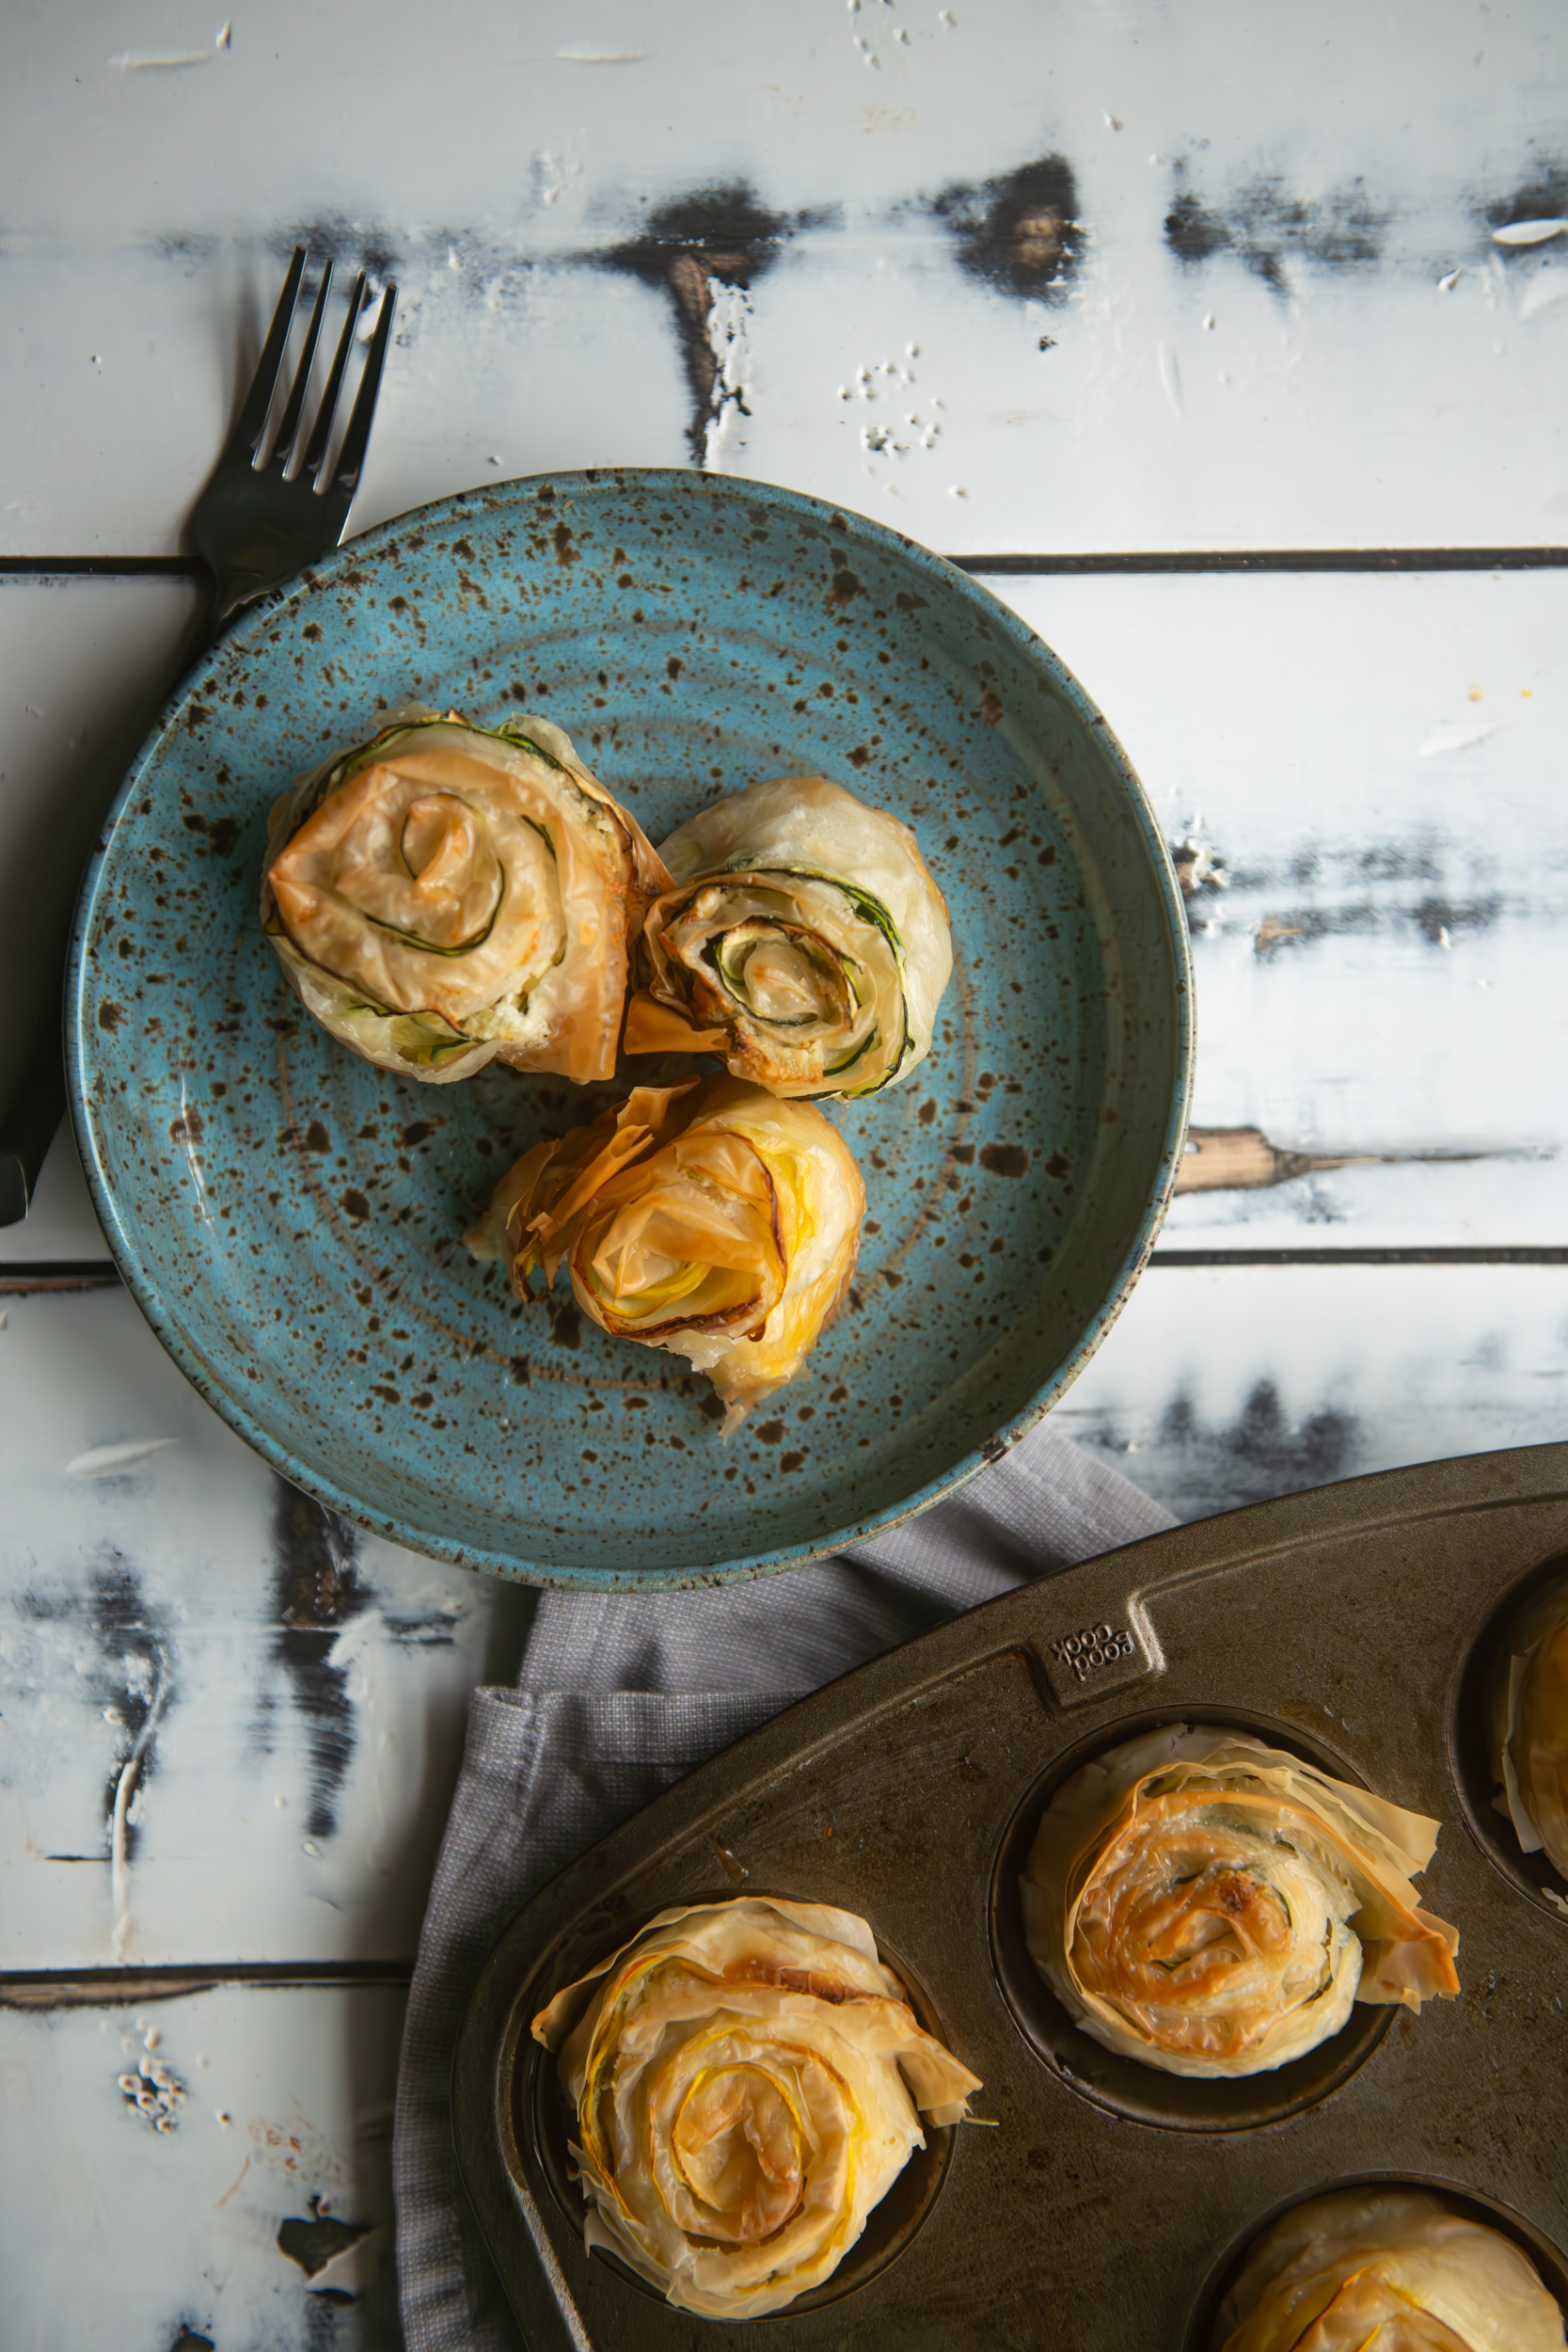
Next, move on to the aperture. Set your camera to aperture priority mode, giving you control over the aperture while the camera adjusts the other settings. Experiment with different apertures to see how they affect depth of field. A wide aperture (low number, e.g., f/1.8) will create a shallow depth of field, isolating your subject from the background. On the other hand, a narrow aperture (high number, e.g., f/16) will result in a larger depth of field, where both the subject and background are in focus.
Finally, explore different ISO settings. ISO determines the sensitivity of your camera’s image sensor to light. The lower the ISO number, the less sensitive it is to light, while higher ISO settings increase sensitivity. Start by capturing images in bright daylight with a low ISO setting (e.g., ISO 100 or 200), then progressively increase the ISO to simulate low-light conditions. Pay attention to how higher ISO settings introduce more noise or grain to your images, and learn to strike a balance between capturing a properly exposed image and keeping noise to a minimum.
Through this exercise, you’ll gain a deeper understanding of exposure and be able to quickly adjust your camera settings to achieve the desired effect in any given situation.
Exercise 3: Study Other Photographers’ Work
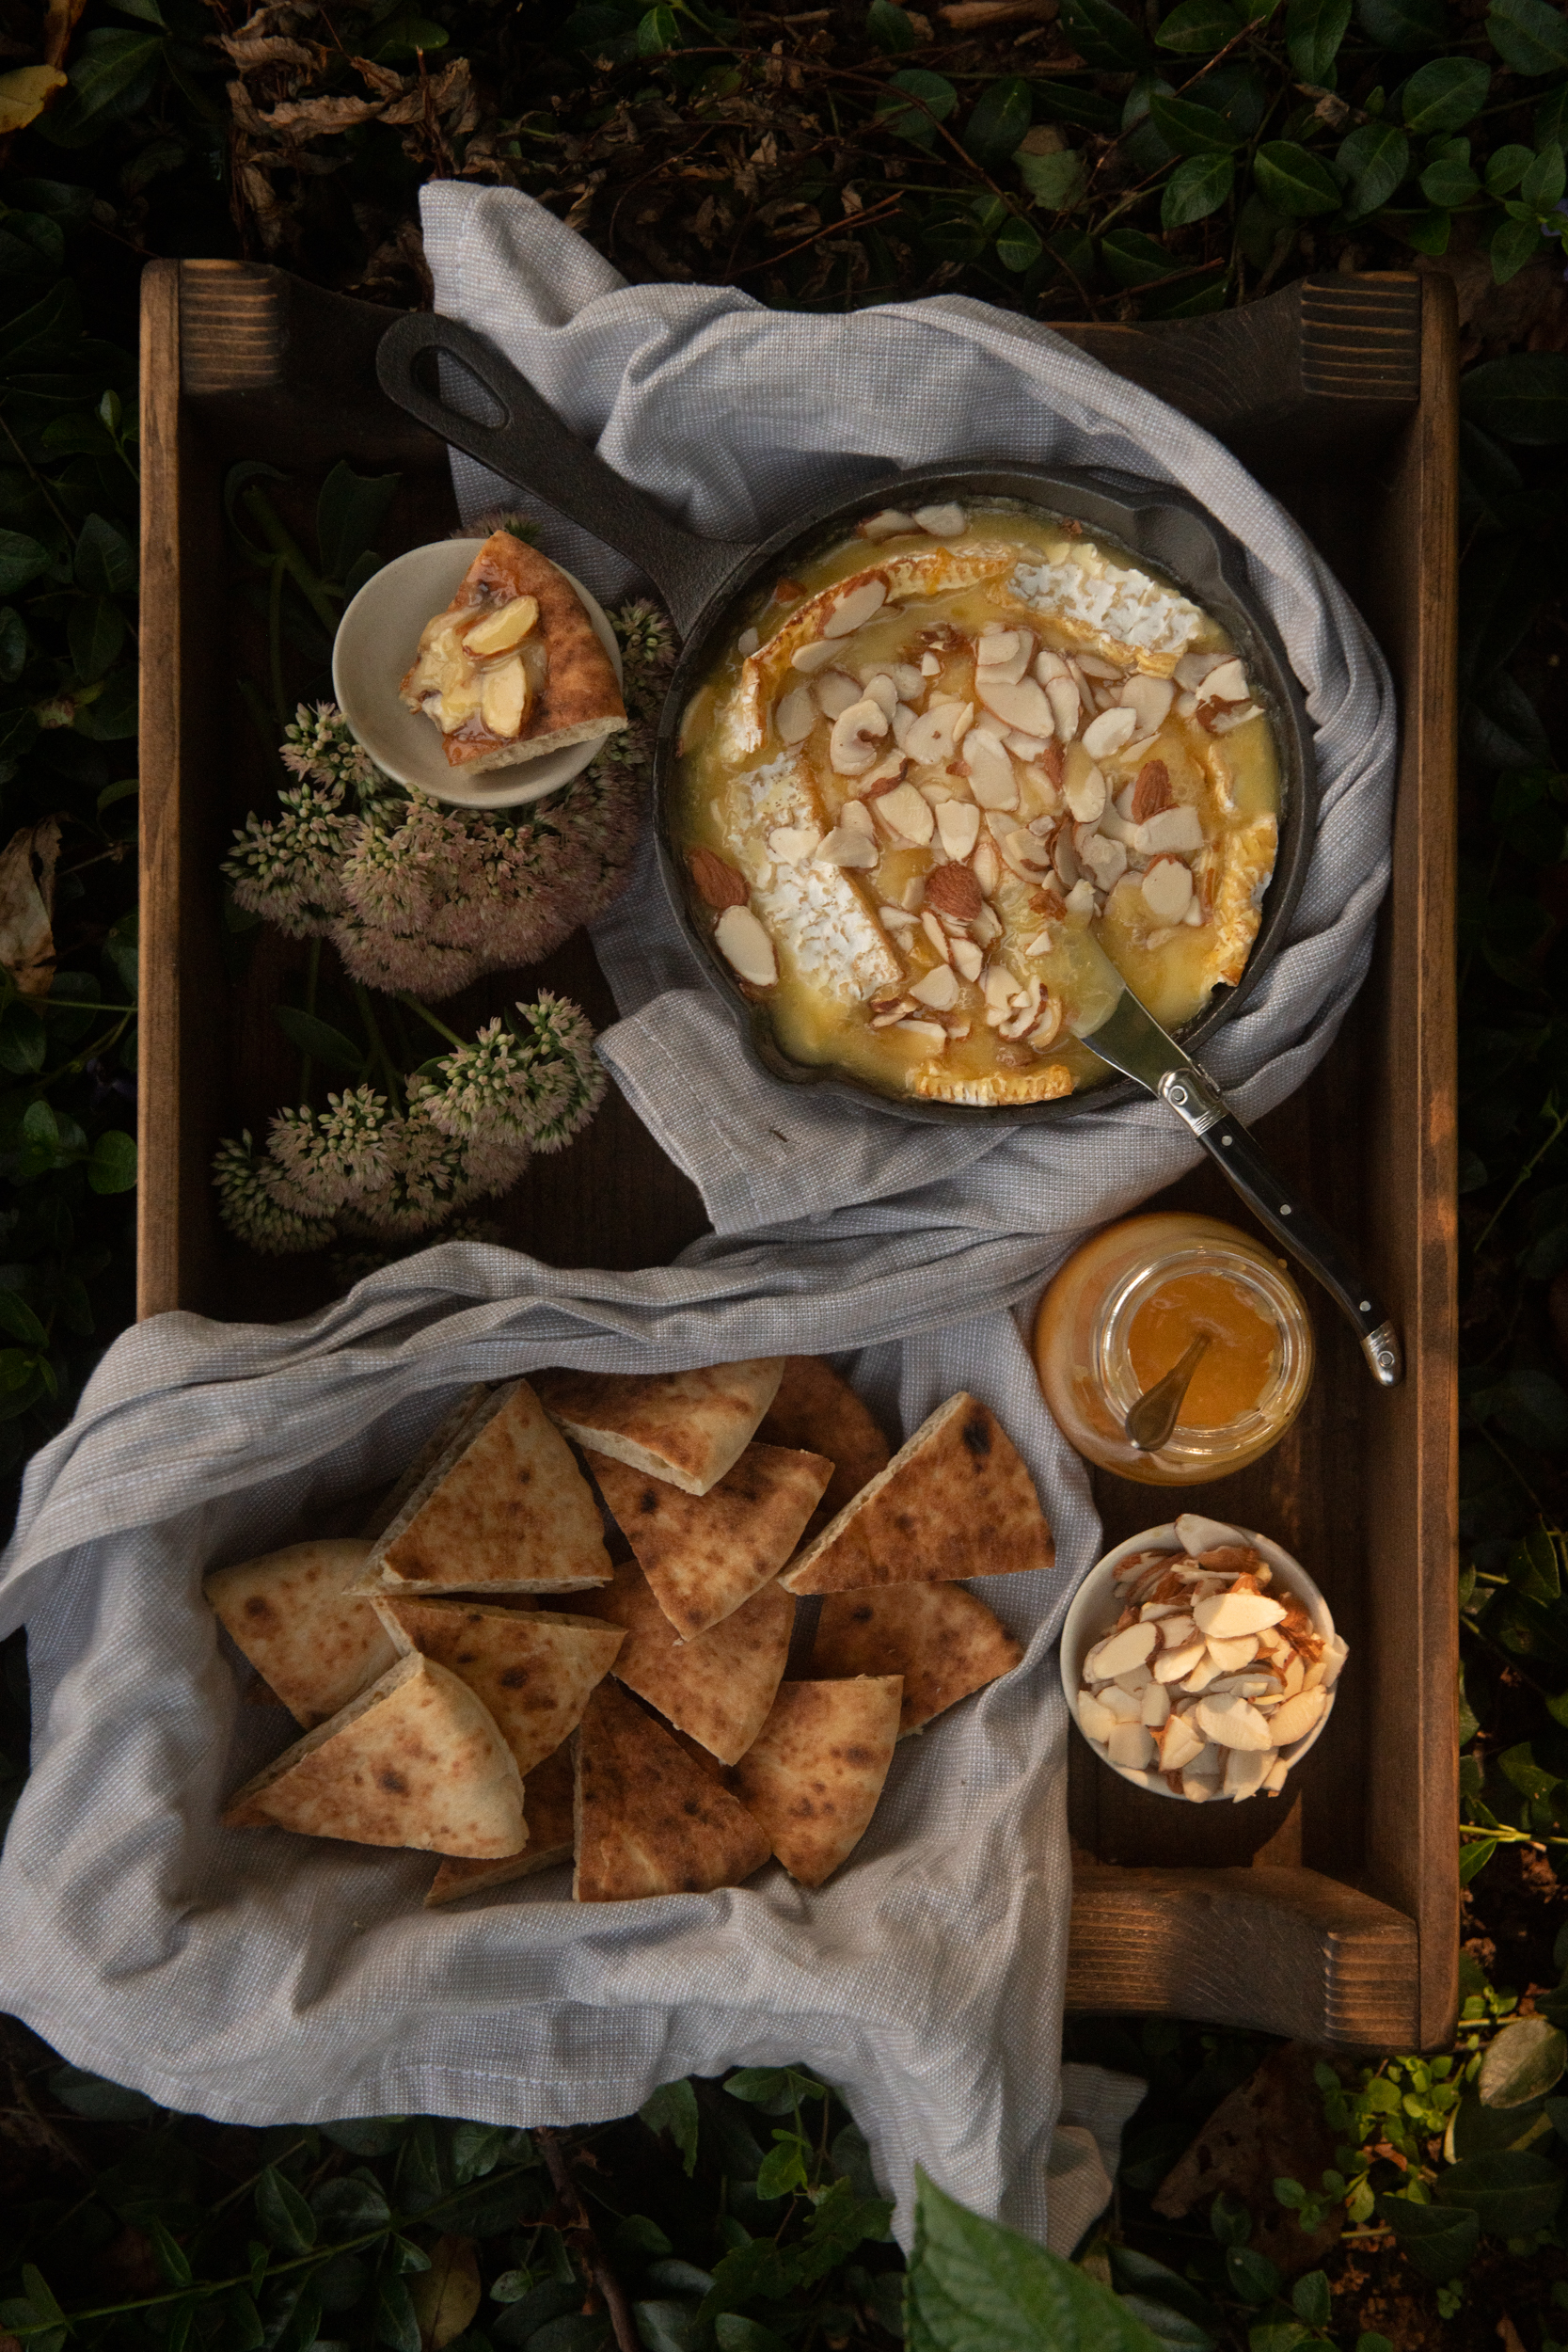
One of the most effective ways to improve your own photography is by studying the work of other photographers. Exposing yourself to different styles, techniques, and genres of photography can greatly inspire and influence your own creative vision. Set aside time to explore the works of renowned photographers, both past, and present, across various genres such as landscape, portrait, street, still life, and documentary photography.
When studying other photographers’ work, pay attention to various aspects including composition, lighting, color, subject matter, and storytelling. Analyze why certain images resonate with you and what makes them visually appealing. Consider how the photographers have used elements such as leading lines, symmetry, rule of thirds, or unique perspectives to create impact. Take note of their use of light to enhance the mood, the choice of colors and how they are employed to evoke emotions, or how they capture the essence of a subject through creative framing.
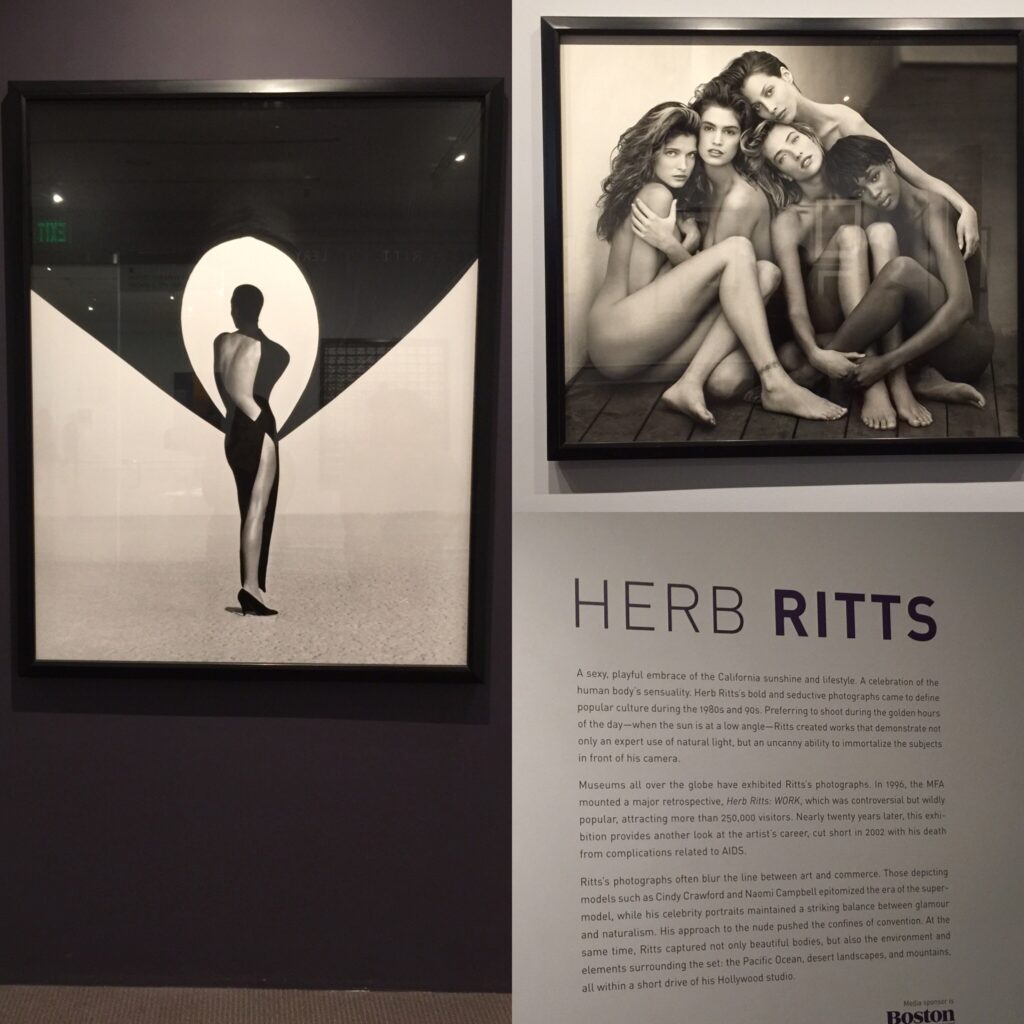
To make the most of this exercise, start by assembling a collection of images from different photographers that inspire you. Create a mood board or a physical collage to have a visual reference. By regularly revisiting and studying these works, you’ll gradually develop your own style and be better equipped to tell stories through your own images. Don’t be afraid to experiment and put your own twist on the ideas and techniques you’ve learned, as this is how you’ll develop your unique creative voice.
Additionally, joining photography communities, attending exhibitions, or participating in workshops and photography events can expose you to a wider range of work and enable you to connect with fellow enthusiasts. These interactions can provide valuable feedback on your own work, spark new ideas, and help you grow as a photographer.
Remember, practicing regularly, experimenting with different techniques, and studying the works of others are all vital steps toward becoming a better photographer. Embrace the learning process, stay curious, and keep challenging yourself to push the boundaries of your creative expression. As your skills evolve and your confidence grows, you’ll begin to create stunning images that truly capture your unique vision.
Happy Creating!
<3 Ann

