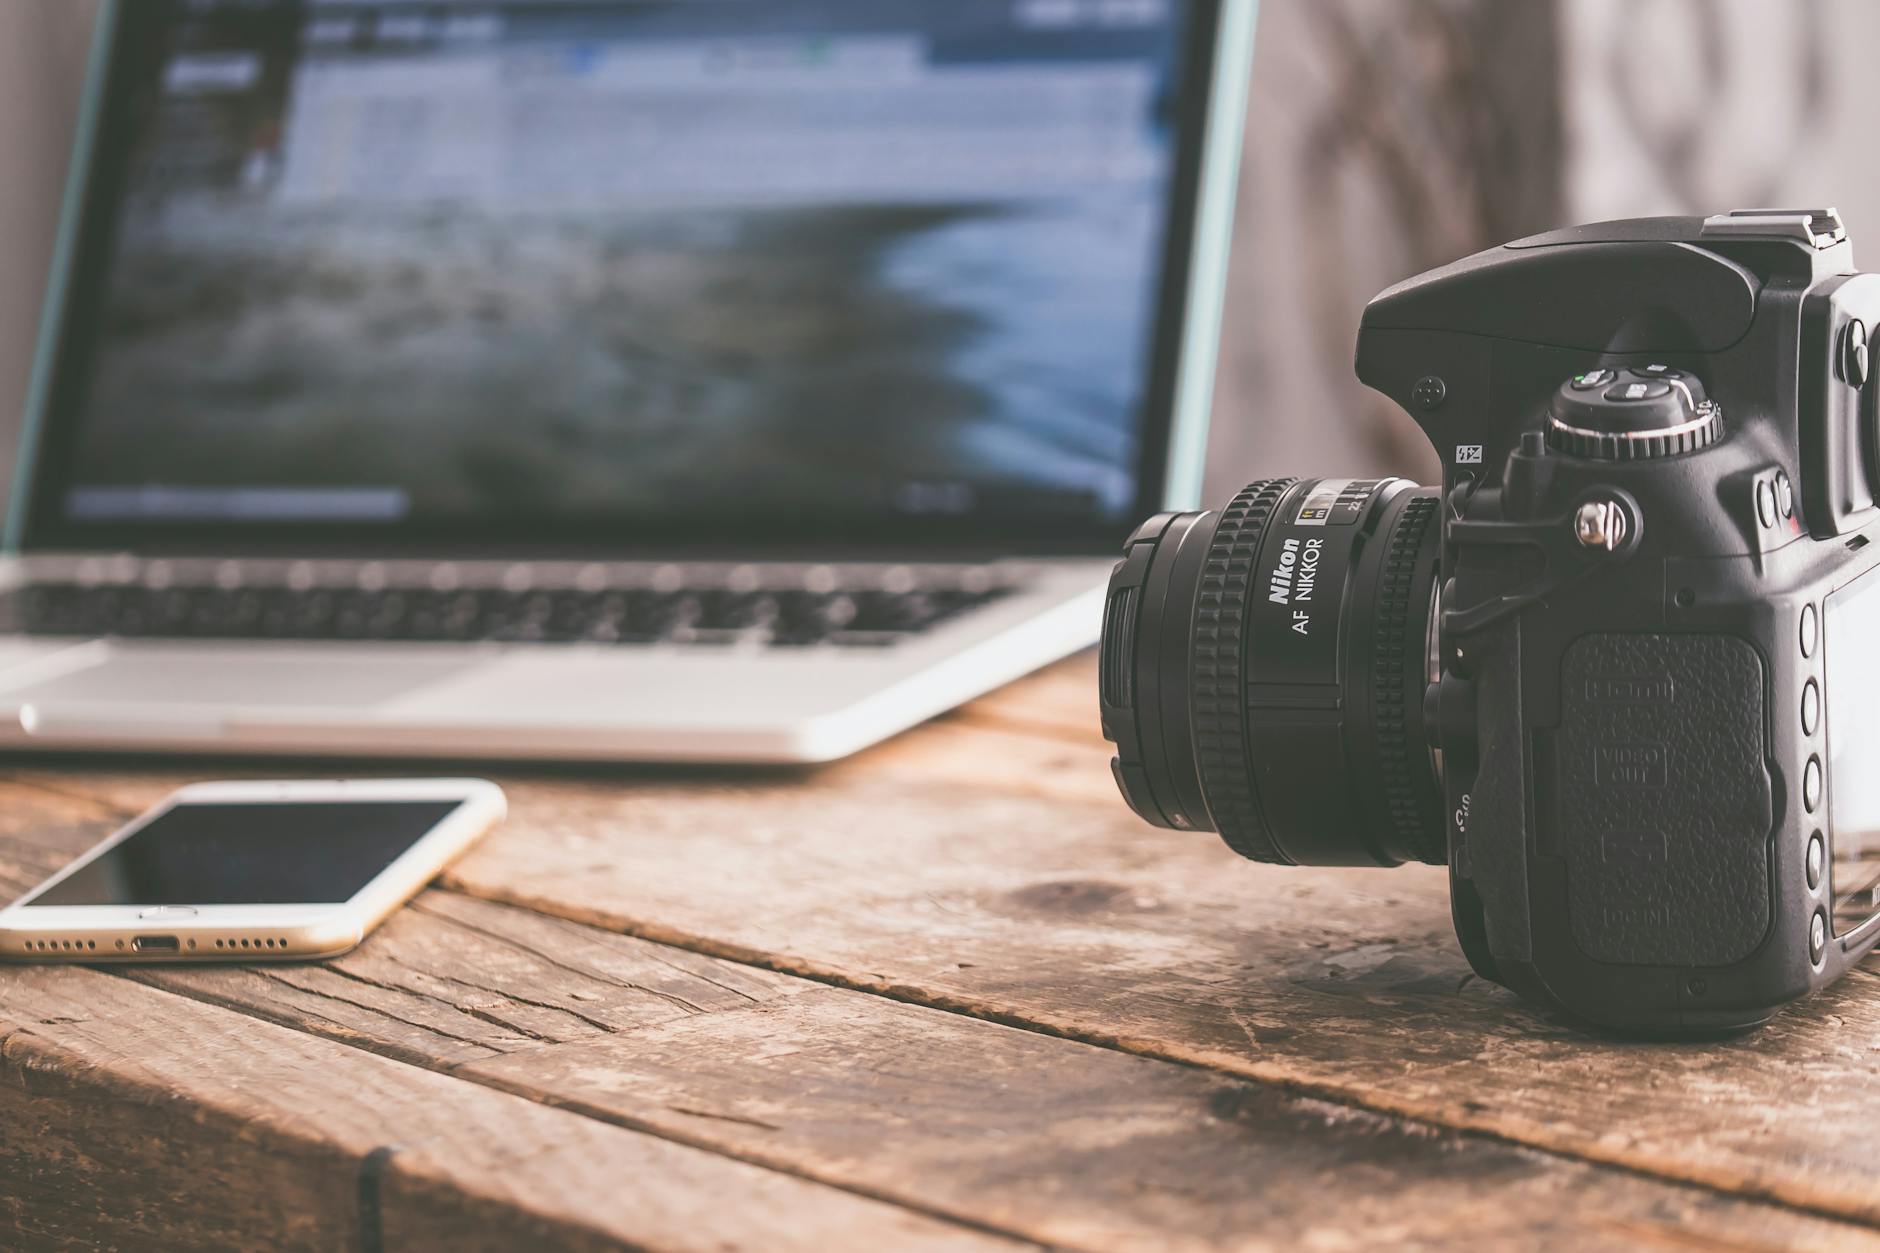
As a photographer, it is essential to have the right tools in your kit is necessary. With photography, the barrier to entry can be very steep as things related to it are expensive. So it is essential to prioritize what is important when creating images. It can affect your budget and also how you further your photography education. Especially when starting, it is essential to be resourceful and use affordable alternatives to get the same results. The following post will explore five cheap photography hacks to help you improve your overall photography game without breaking the bank!
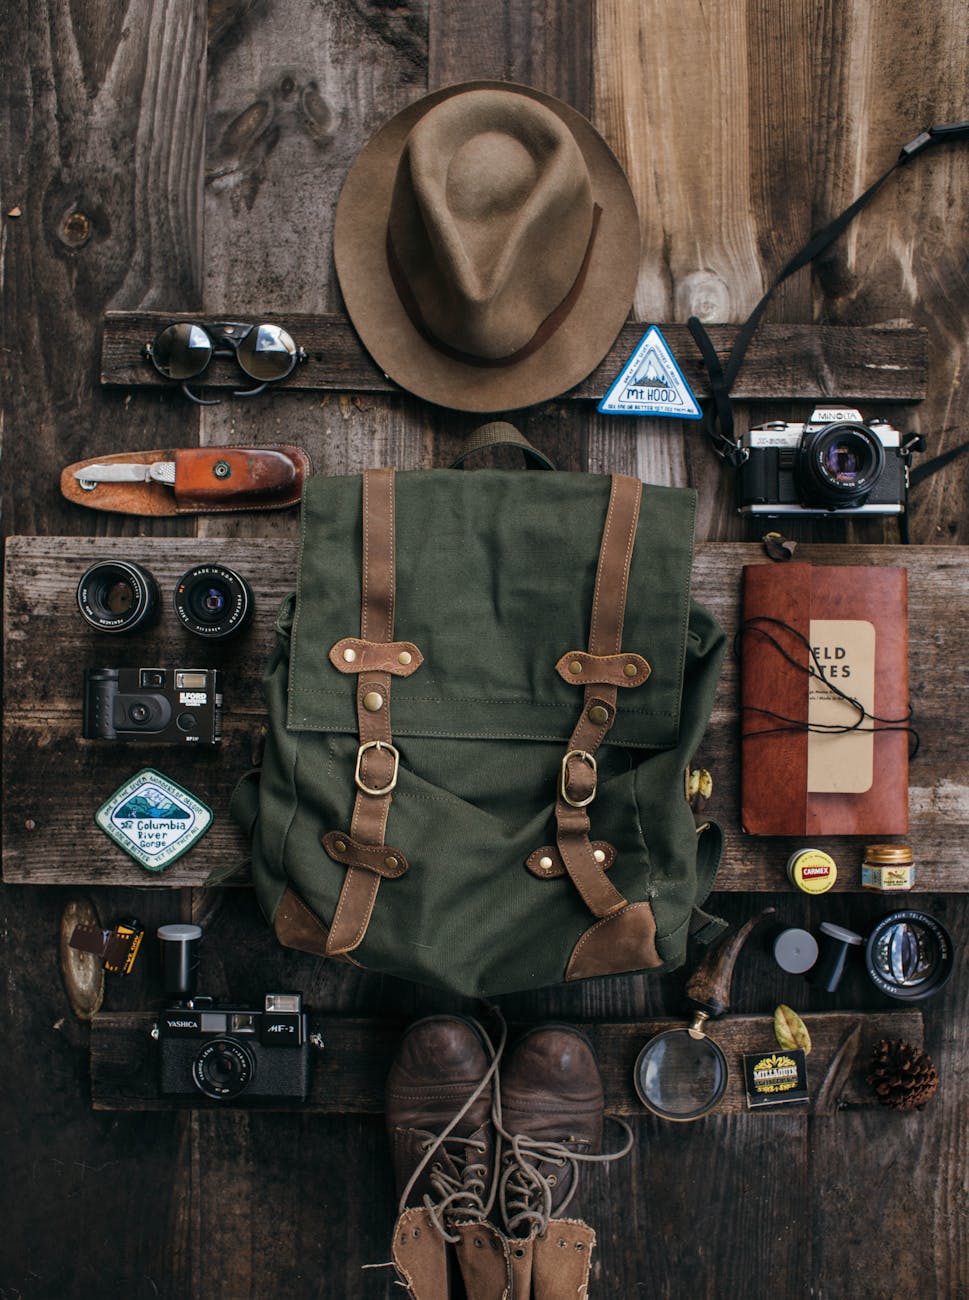
I was lucky to I could attend photography school and pick up on a few things I will share with you and hopefully help you save some money.
Add these 5 Cheap Tools to your kit so you can take the photos you want to take without breaking the bank!

1. Foam Board
You can expect a couple of hundred dollars. This might be the cheapest option, but believe me; this is one of the best investments you will make for your photography kit if you order bounce boards from photography vendors. To save on money, I would use foam boards from craft supply stores to save money. You can also find them on Amazon at great prices. These will also work and give your images the desired professional look on a budget. You are using it as a background or bouncing light; the smaller your budget, the better it is for you. I use one at home and in the studio with excellent results.
2. Small Mirrors and Reflexive Surfaces
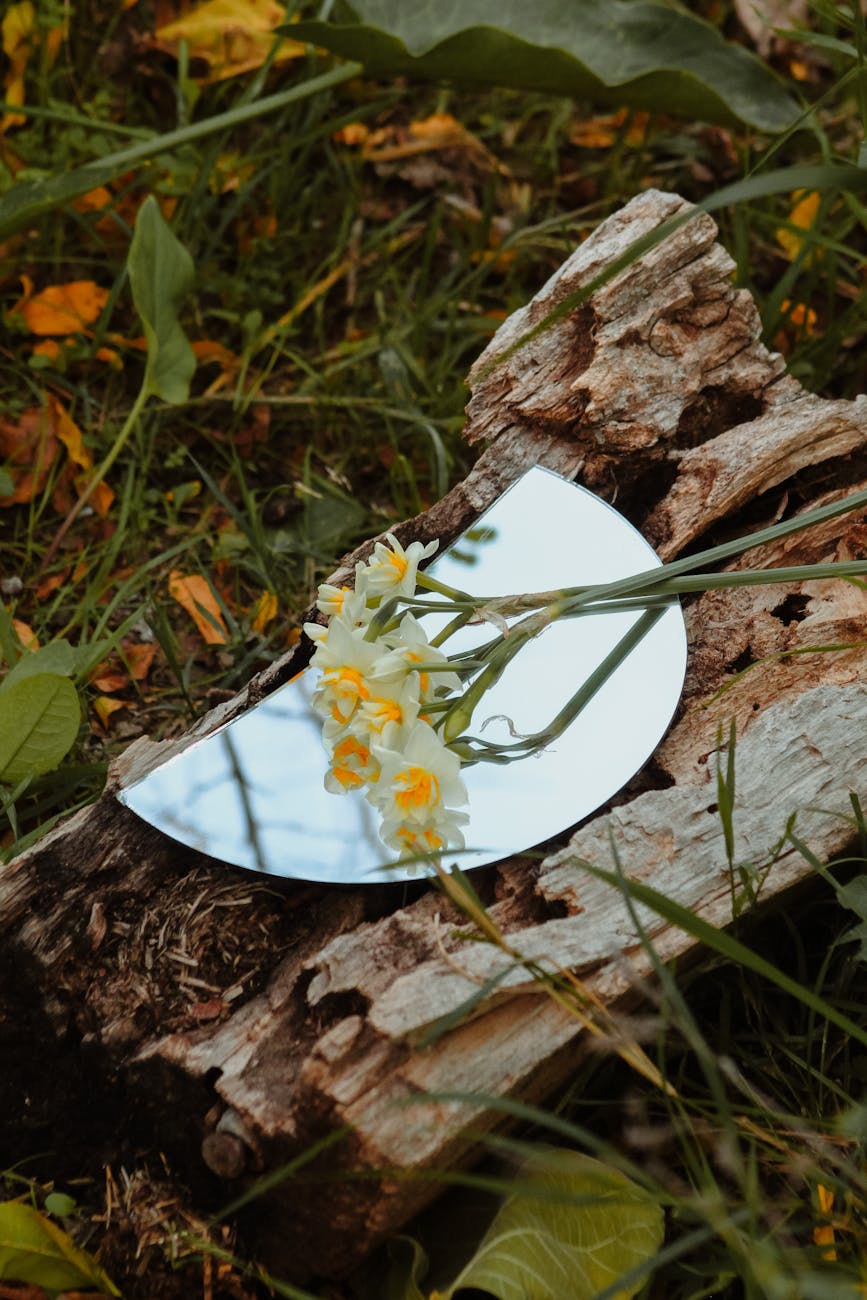
A mirror is a great tool to light a specific area where you need it, add some bounce light, or catch the light. Mirrors or small reflective surfaces can make backgrounds and add character to the subject or scene. You can also get creative with a few small mirrors and place them together or in separate places for a more exciting image. A reflective paper is easy to customize for your projects and can be purchased cheaply from craft stores or online retailers. You can cut and bend them to fit any scenario.
3. Fishing Wire
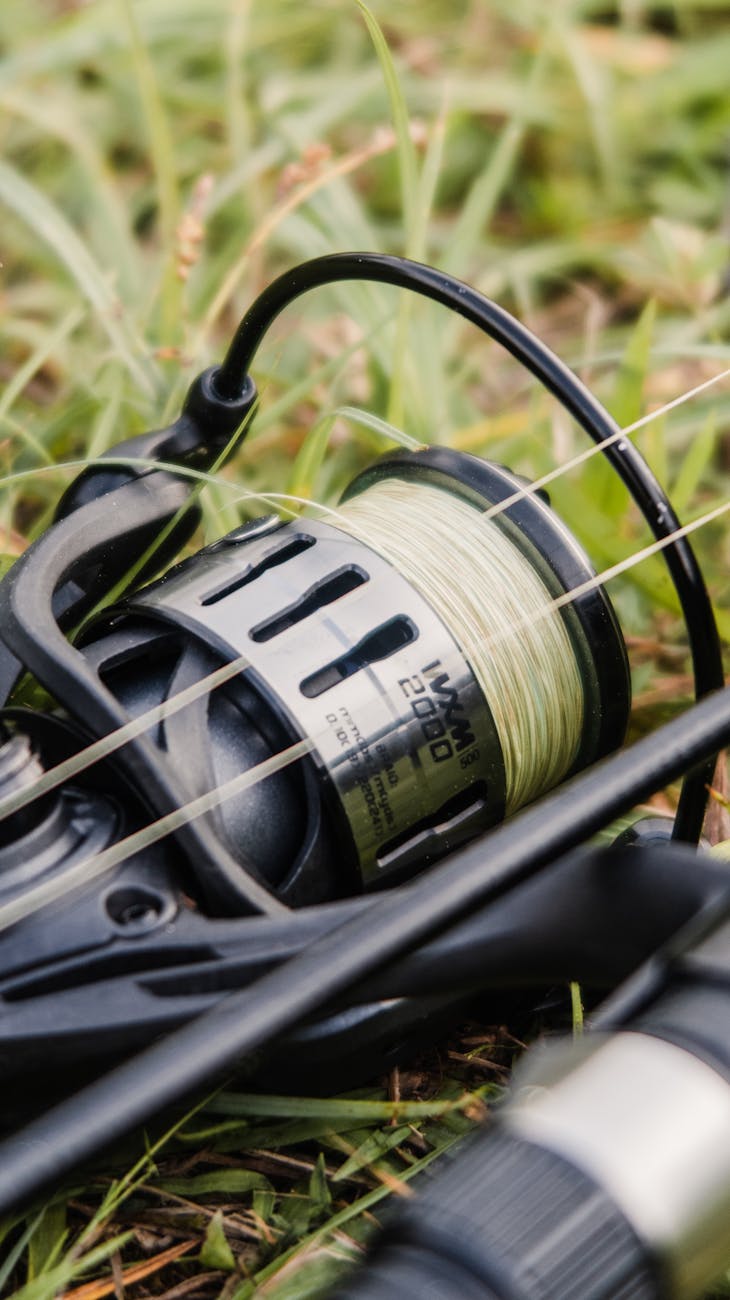
Fishing wire is the most used gear in my kit and one of my most valued items as a photographer. Use fishing wire to hang anything out of anywhere you can get your hands on, and it will add that extra touch to whatever you photograph. I like to call it my assistant when I do not have anyone to help me, and I need a little boost. You can also use it to create exciting backgrounds or attach different items to use as a frame. Use it to create the illusion of objects floating or being suspended mid-air. A large roll is very cheap and easy to pack on photography adventures.
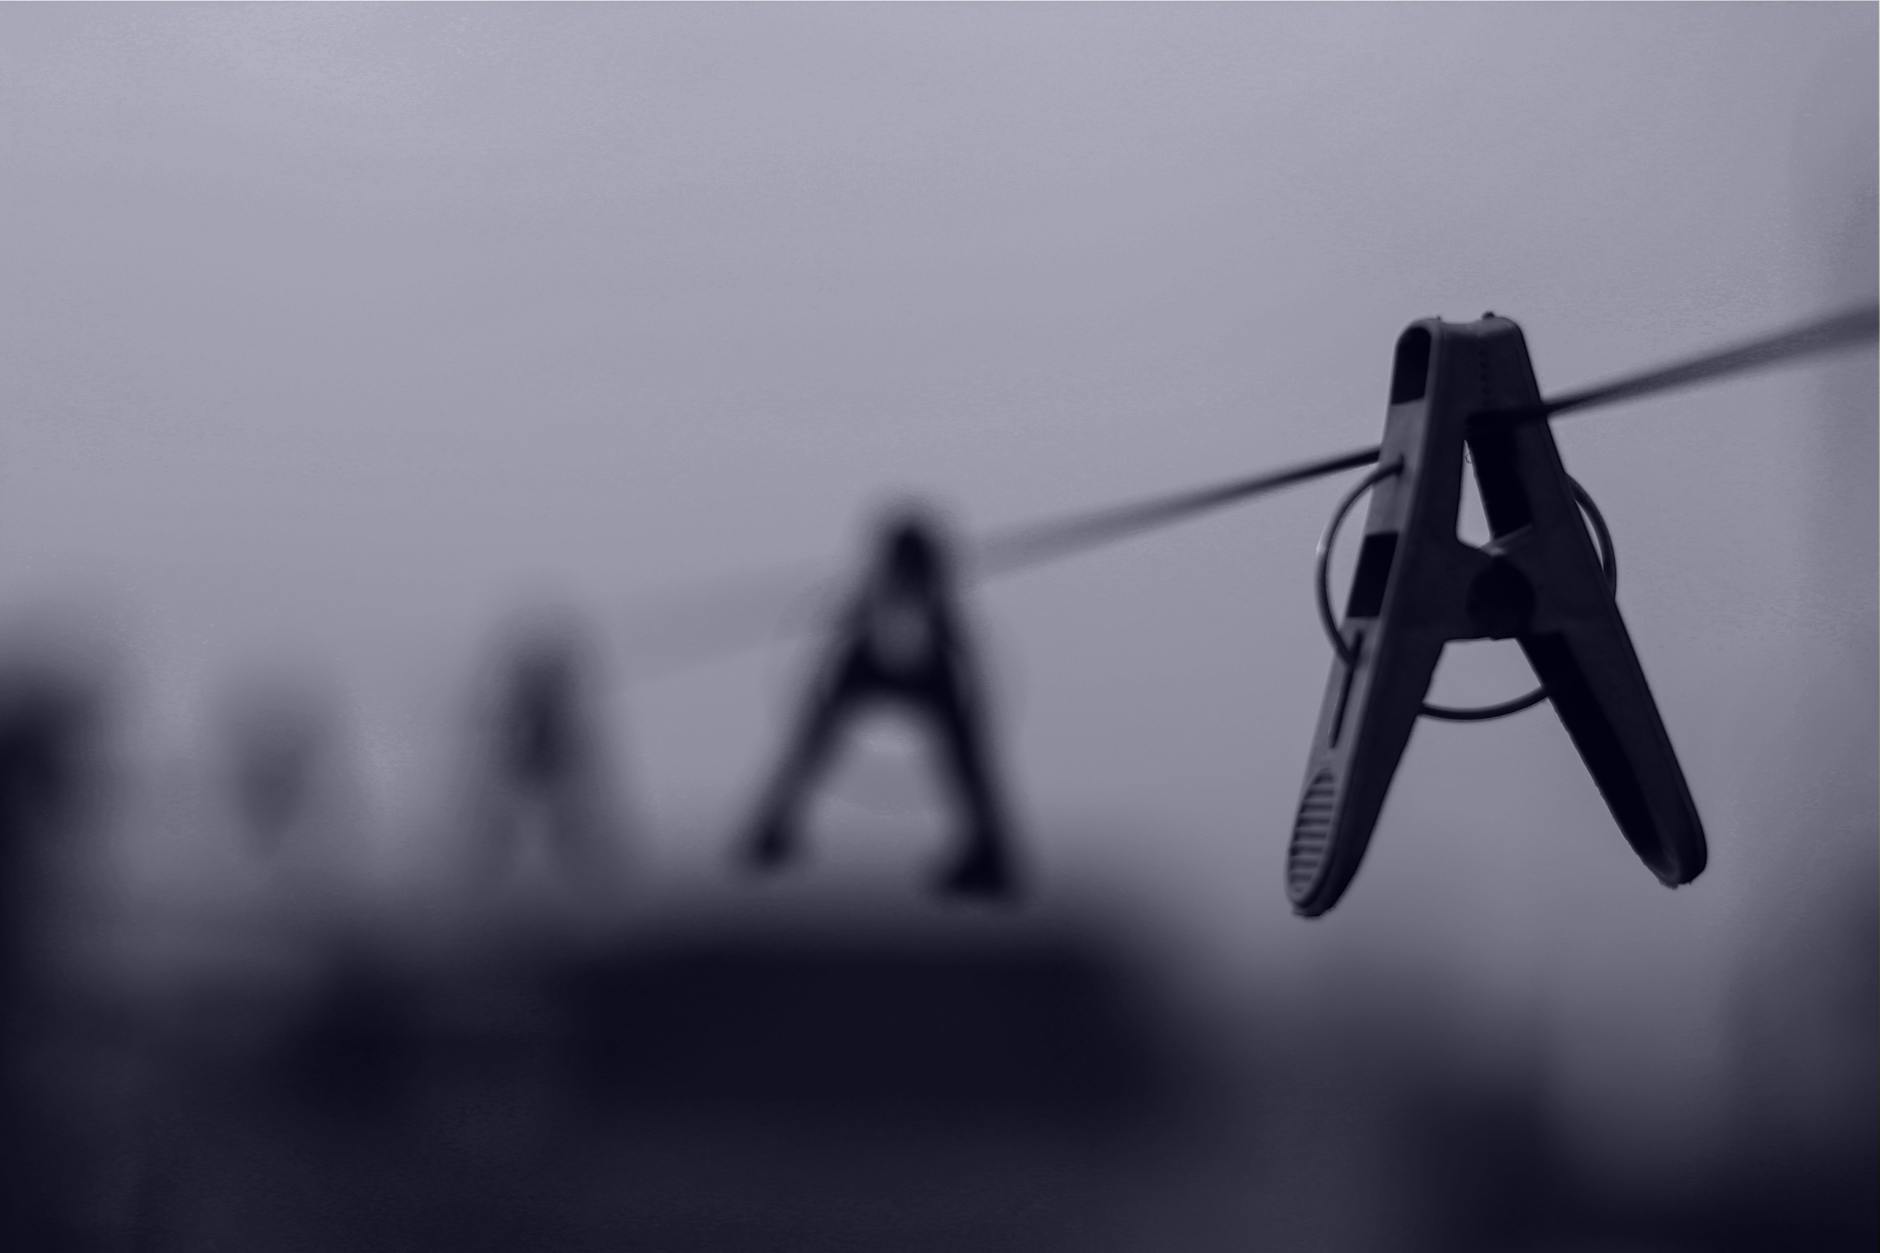
4. Clamps
During shoots, I usually have a few of them in varying sizes on my belt for easy access during shoots. Clamps are versatile tools that can secure backdrops, hold objects in place, or create unique compositions. I use them most for curtains, clothing, and obtaining speed lights on different surfaces. I got mine from Home Depot. They have many different sizes and are priced very reasonably.
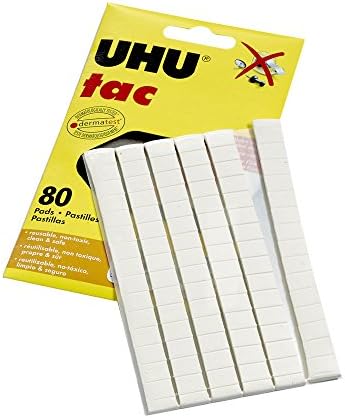
5. Tack
Whether I am in the studio or out on location, tack is used to secure backgrounds, props, and other objects in place. Tack is a cheap and effective tool for keeping things where you want them during your photoshoots. Tack gives us creatives the ability to temporarily stick things together without harming props or the environment.
You can take stunning photos without breaking the bank by incorporating these five cheap tools into your photography kit. Photography is not just about having the latest and most expensive equipment. It is about creativity and resourcefulness. Utilizing these cost-effective tools can unlock a world of possibilities and elevate your photography game.
I hope these items help you during your shoots and projects.
Happy Creating,
<3 Ann

