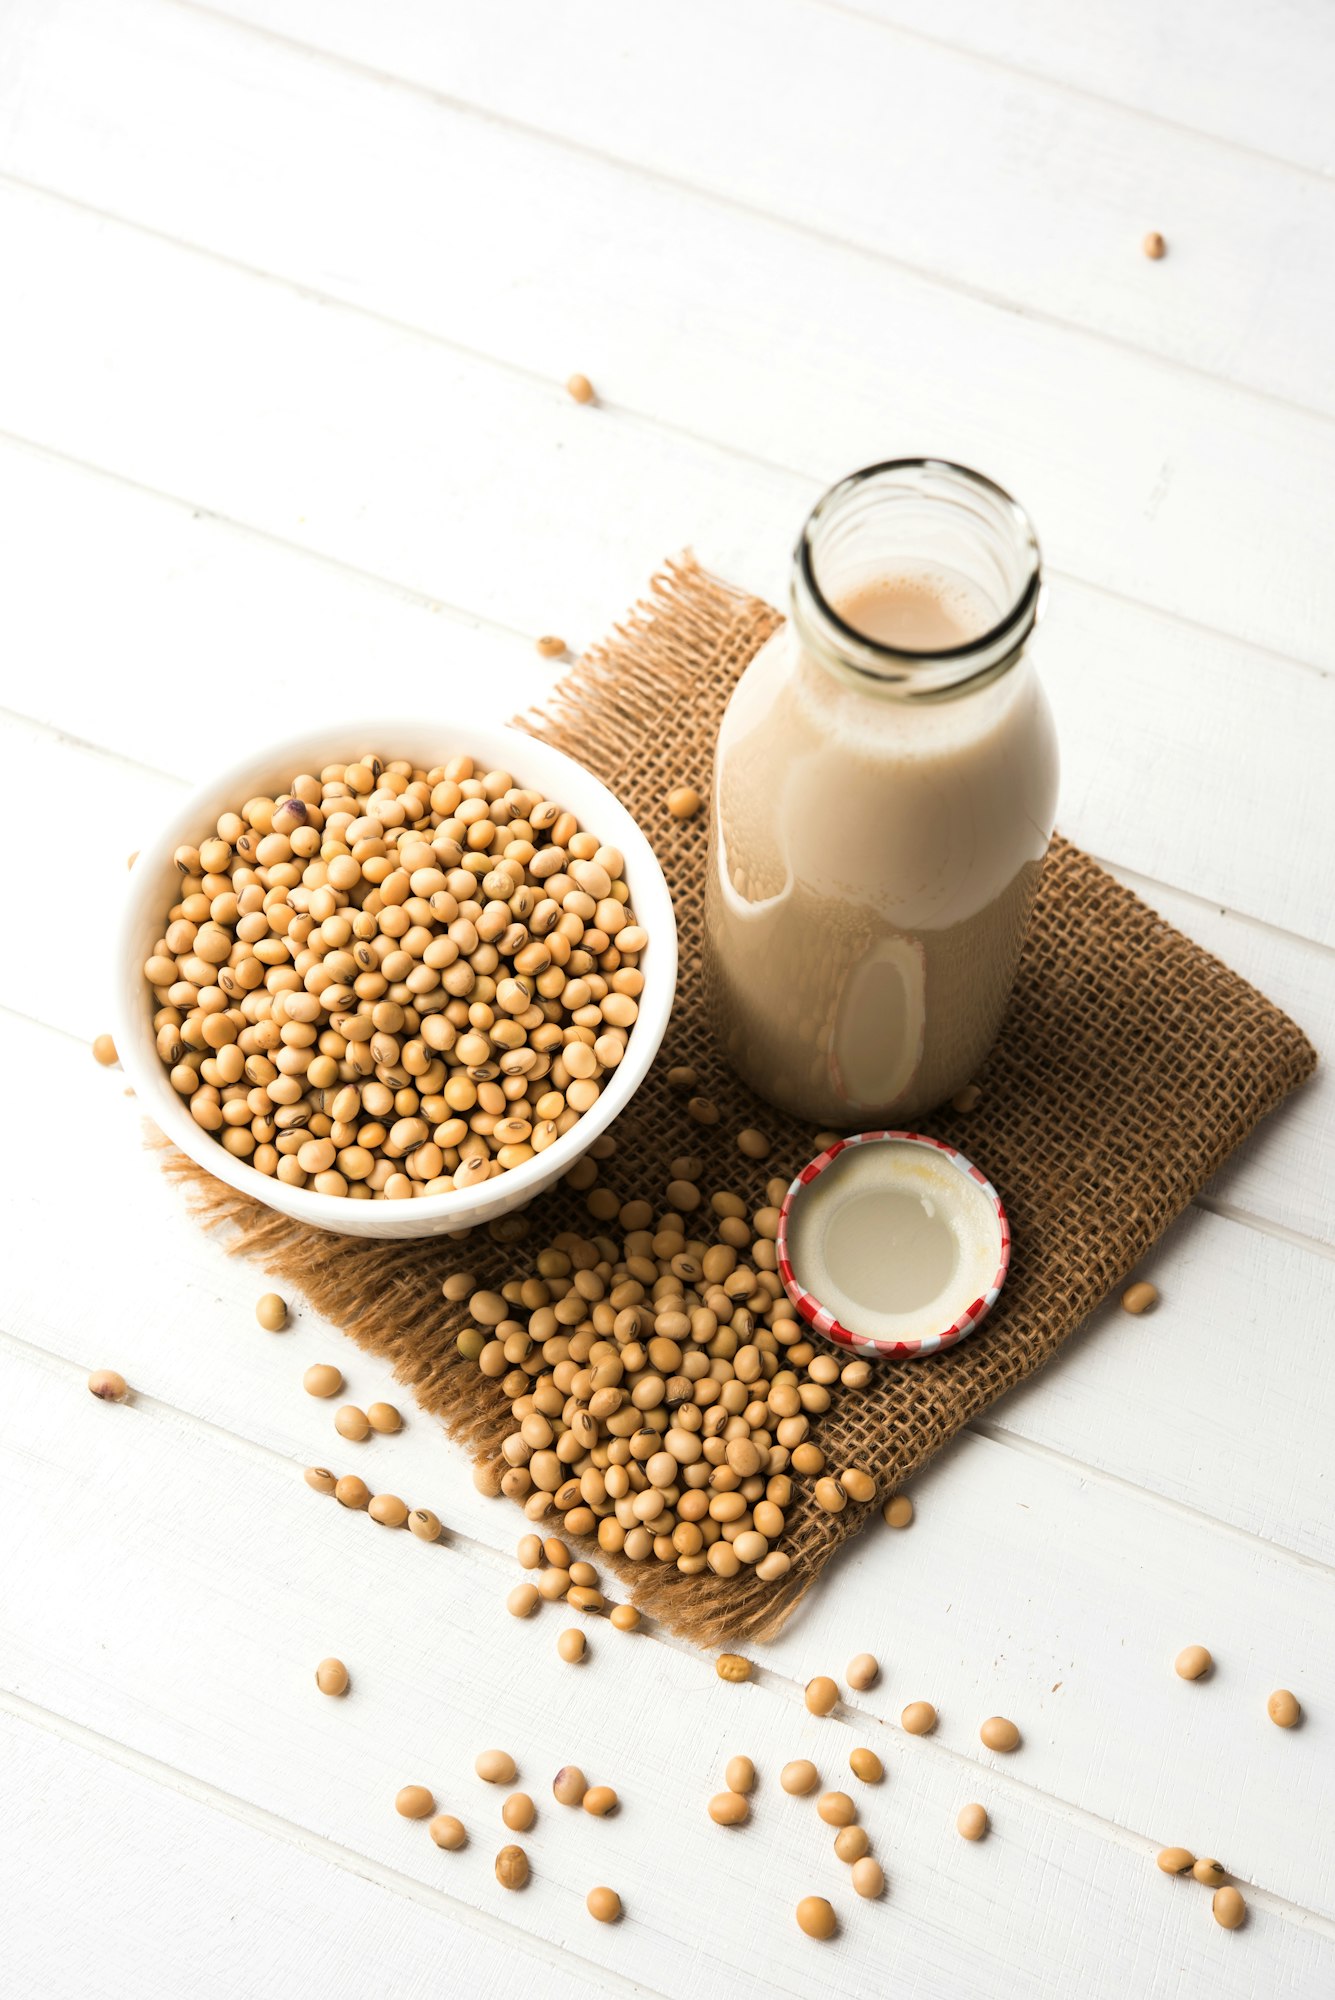
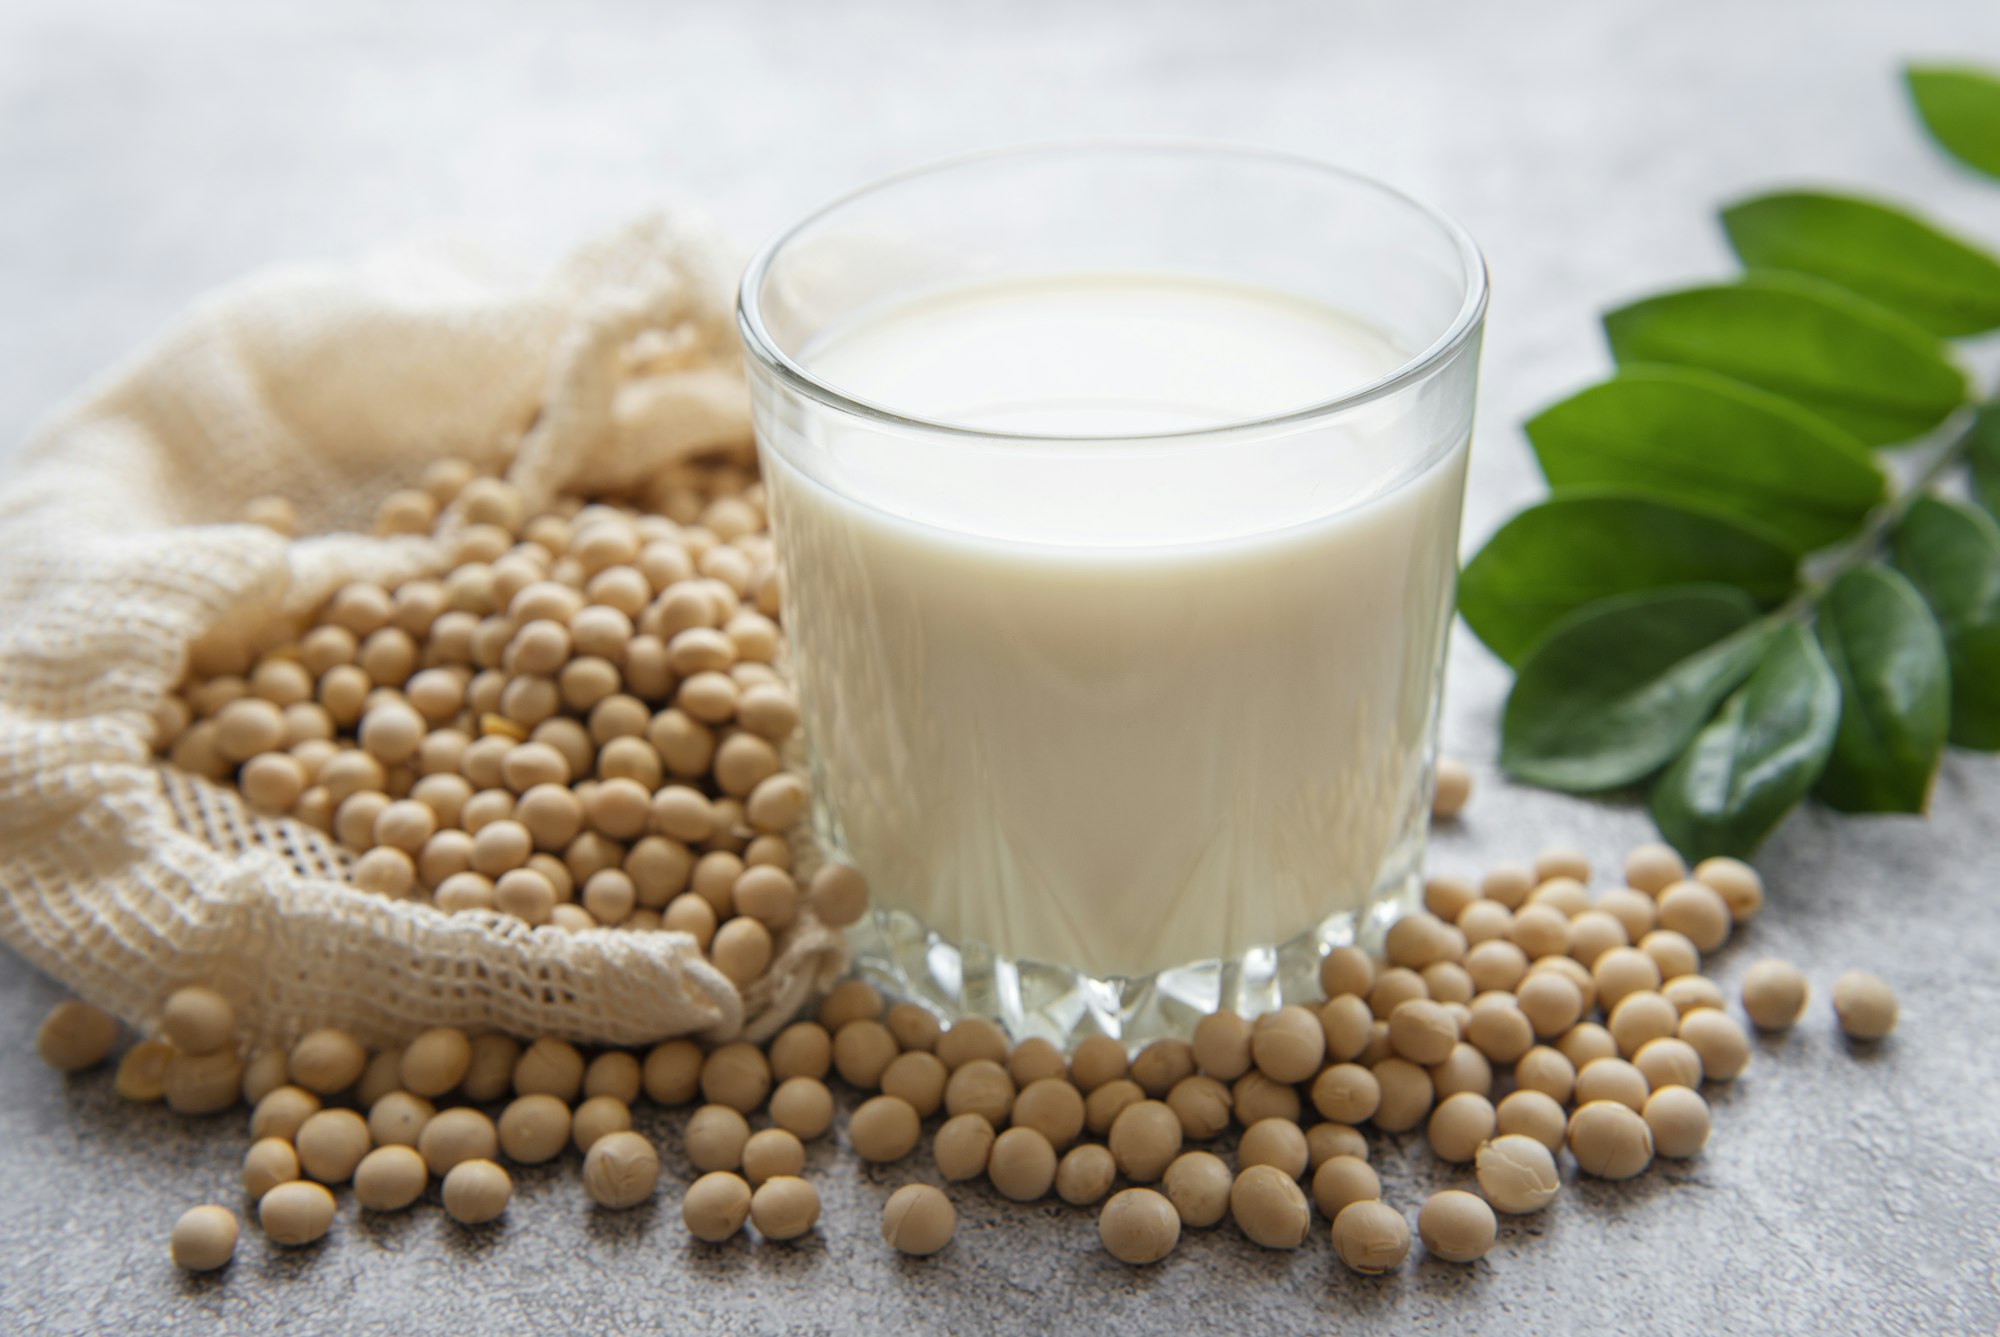
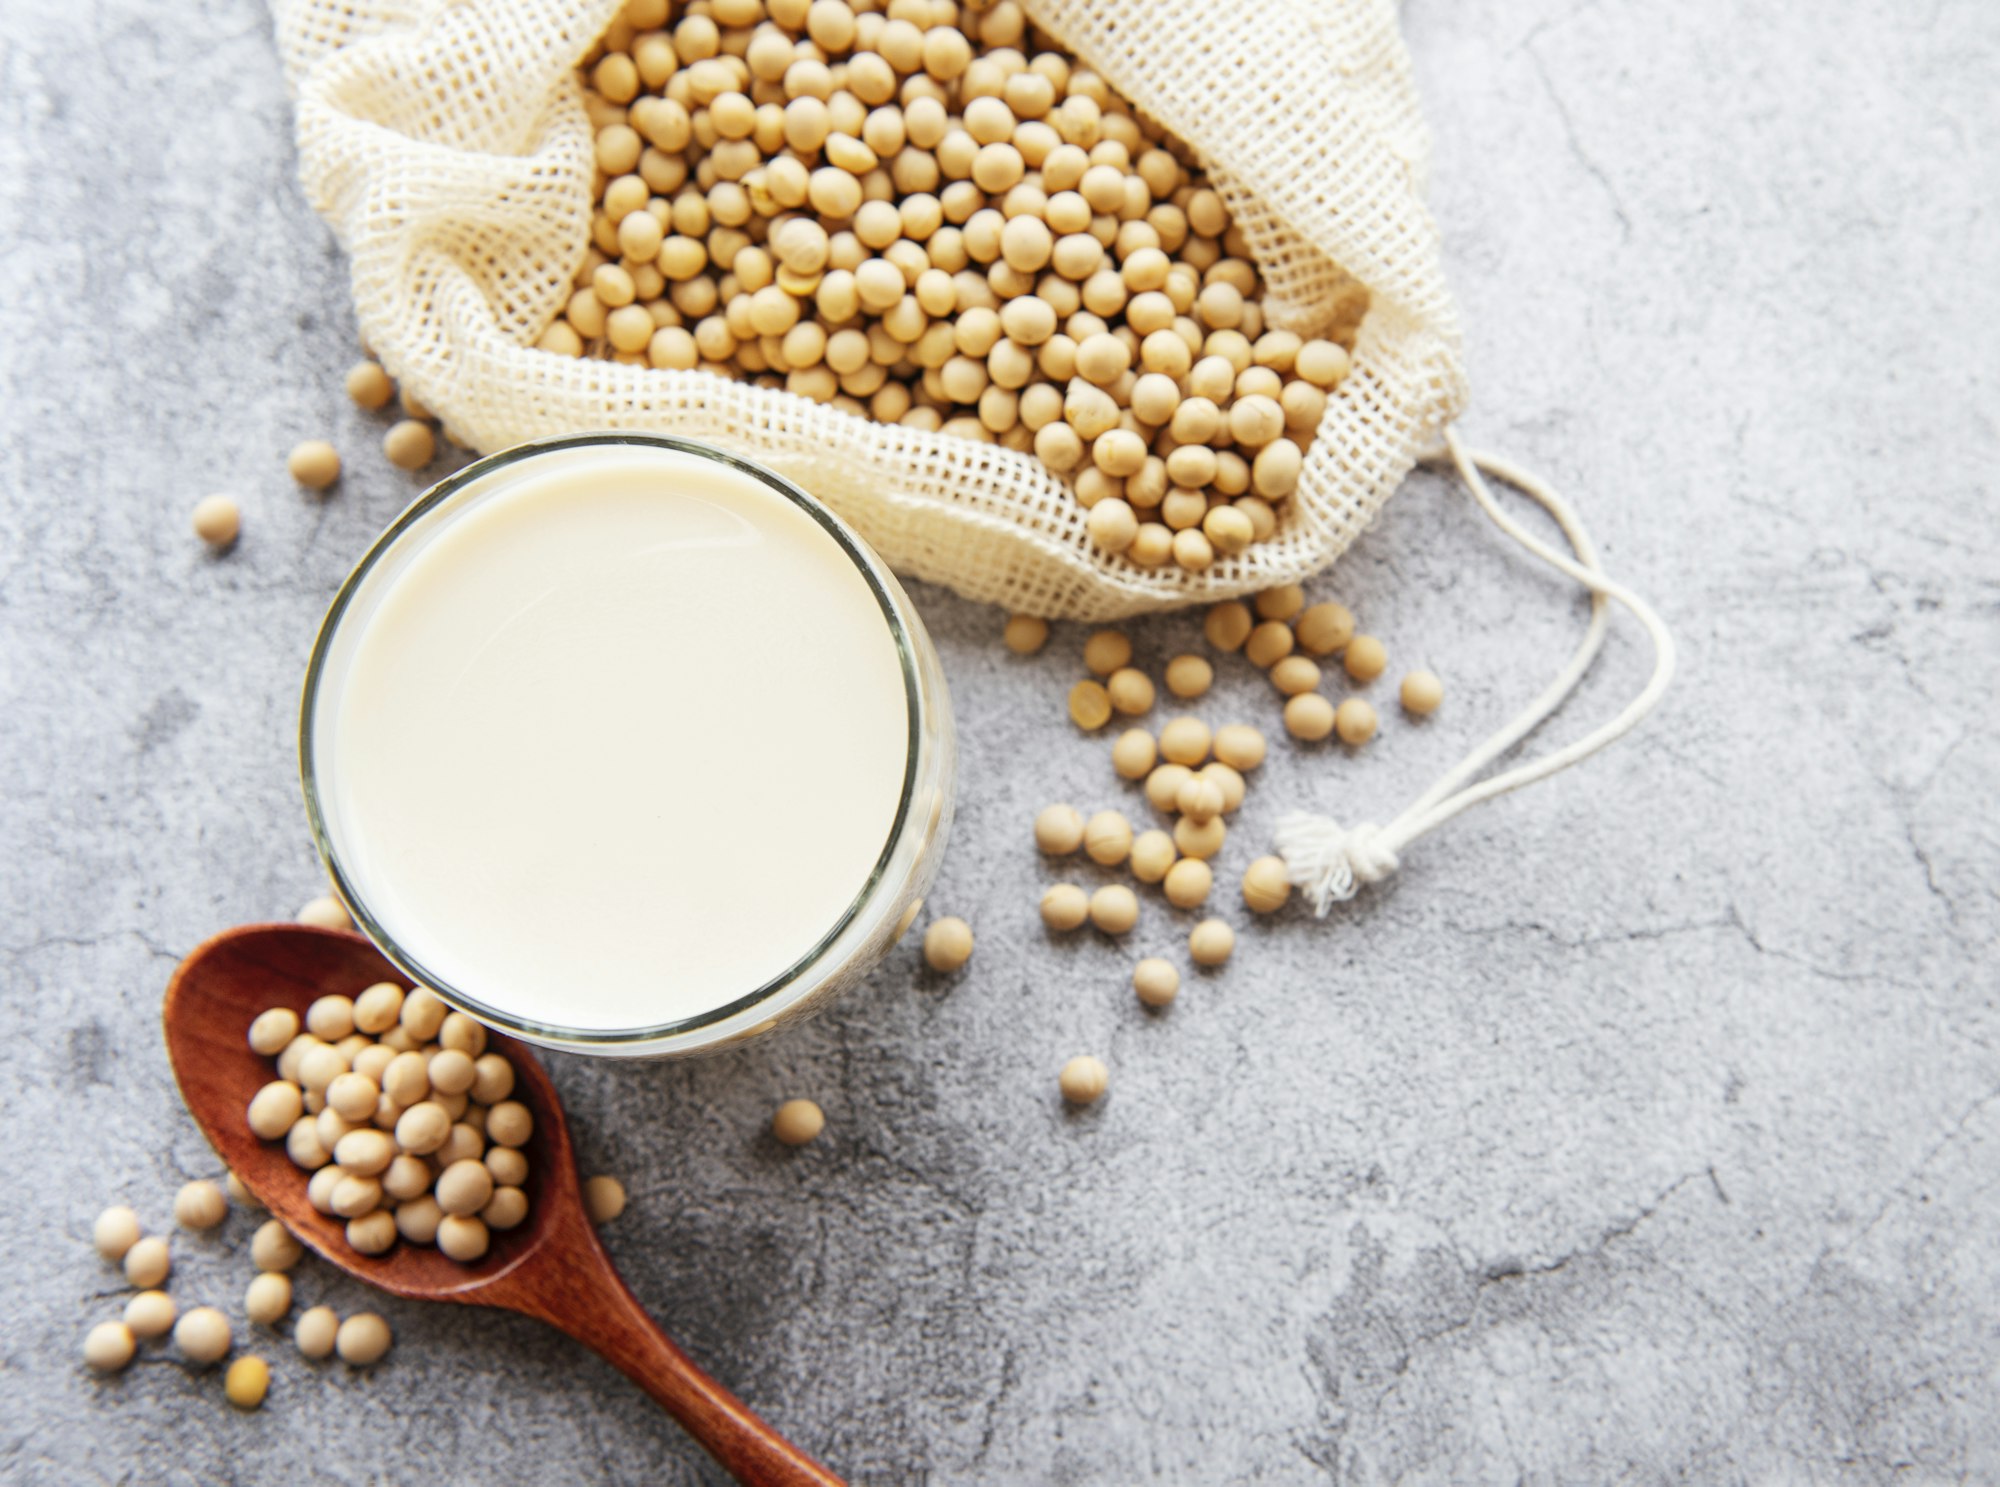
When I growing up, I always looked forward to the weekends because it was the only time I got to see my parents. They always tried to make sure we made something special together in the kitchen. One of my fondest memories was making homemade soy milk together in our tiny apartment kitchen. I remember dragging a chair to the countertop and watching all the magic happen as my parents prepped and let me assist in the process.
There is something about foods that brings back childhood memories that are truly special, so today, I’m going to share the recipe my parents taught me for homemade soy milk.

To get started, you will need the following ingredients:
– 1 cup dried soybeans
– 4 cups filtered water for soaking
– 8 cups filtered water for blending
– White Sugar to taste * We use white sugar because soy milk is more white in color, so we want a sweetener that will not mess with it
Below is the equipment you need:
– Blender
– Cheesecloth
– Large mixing bowl
– Pot or big saucepan
– Fine mesh strainer
Below are the instructions:

- Soak the soybeans the night before, and ensure the water covers the beans by at least an inch. This step softens the beans and makes them easier to blend.
- Drain and Rinse: After soaking, drain the soybeans and rinse them thoroughly under cold running water. Remove any loose skin or debris. If there is any loose skin after rinsing, you do not need to remove it all.
- Blend the Soybeans: In a blender, combine the soaked and rinsed soybeans with 8 cups of filtered water. You may need to blend in batches if your blender is not large enough. Blend until you have a smooth and creamy mixture.
- Strain the Mixture: Place a nut milk bag or a piece of cheesecloth over a large mixing bowl or jug. Pour the blended soybean mixture through the nut milk bag or cheesecloth to strain out the soy milk. Squeeze or press to extract as much liquid as possible. Move the cheesecloth bag back and forth while gently squeezing to help separate the pulp from the soy milk.
- Heat and Sweeten: Pour the strained soy milk into a saucepan/pot and heat it over medium heat. Stir constantly to prevent sticking. Continue to heat and stir until the soy milk is hot but not boiling.
- Cool and Store: Allow the soy milk to cool to room temperature before transferring it to a clean, airtight container or bottle. Make sure the container is oil-free; if not, the soy milk will spoil very fast. Store in the refrigerator for up to 3-4 days. Shake or stir before each use, as natural separation may occur.
- Enjoy: Use your homemade soy milk in your morning coffee, cereal, smoothies, or as a dairy substitute in recipes.

Making your own soy milk is a rewarding and economical way to enjoy a creamy and nutritious dairy-free beverage. Plus, you can know exactly what goes into your soy milk without any added preservatives or artificial ingredients. My mom never brought soy milk because of this very reason. She likes to have the ability to control the amount of soy flavor inside. So, go ahead and try this homemade soy milk recipe for a fresh and wholesome alternative to store-bought options.
Your taste buds and your health will thank you!
Happy sipping!
<3 Ann

